
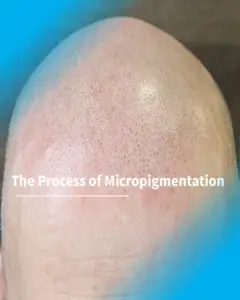
One of the most common questions we hear during consultations is: “What is the process I will go through to get my micropigmentation?” Today, we’ll answer this question in detail to give you a clear idea of what to expect.
Before Your First Session
Before your first session, the artist will advise you whether or not you need to shave your hair. When you arrive at the studio, the scalp micropigmentation (SMP) expert will redraw your hairline based on your preferences and facial structure. This step is crucial, as it gives you a preview of the area to be covered and how the final result will look. Once you’re satisfied with the design, the process moves forward.
Preparing for the Procedure
Before starting, the artist will:
- Have you sign a consent form.
- Thoroughly disinfect the workspace and equipment.
- Mix the pigment to match the color of your natural hair.
The Micropigmentation Sessions
1. The First Session – The Foundation Phase
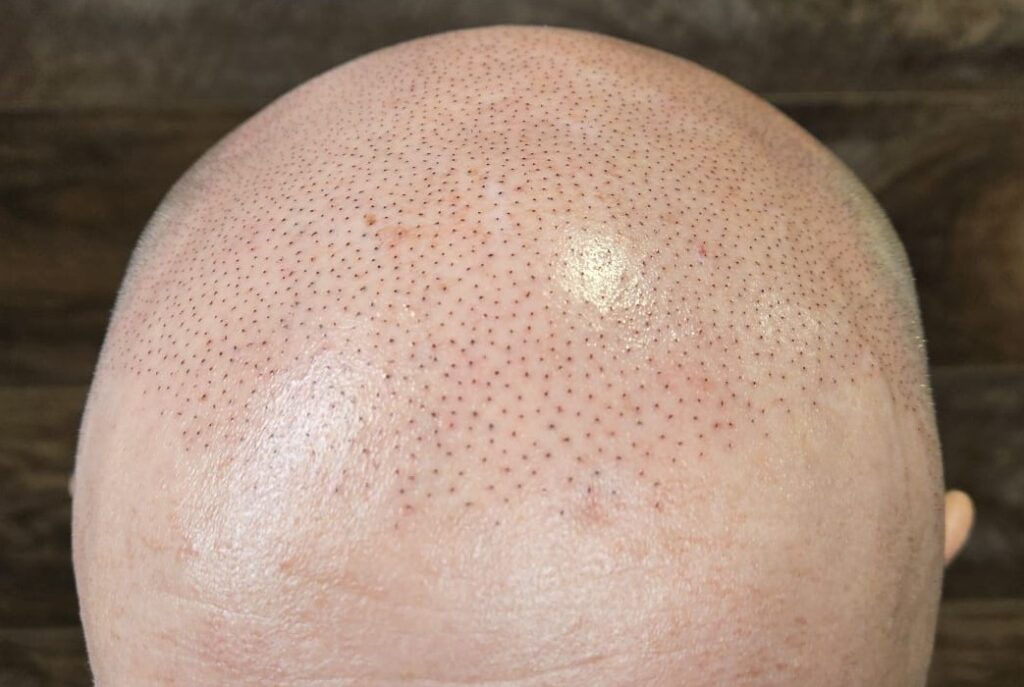
The first session lays the groundwork for your SMP. During this phase, the artist creates initial impressions across the entire area to be treated. At this stage, the impressions are spaced out, and the results may appear subtle. This is normal, as this session sets the foundation for density and structure, with noticeable results becoming more apparent in subsequent sessions.
2. The Second Session – The Density-Building Phase
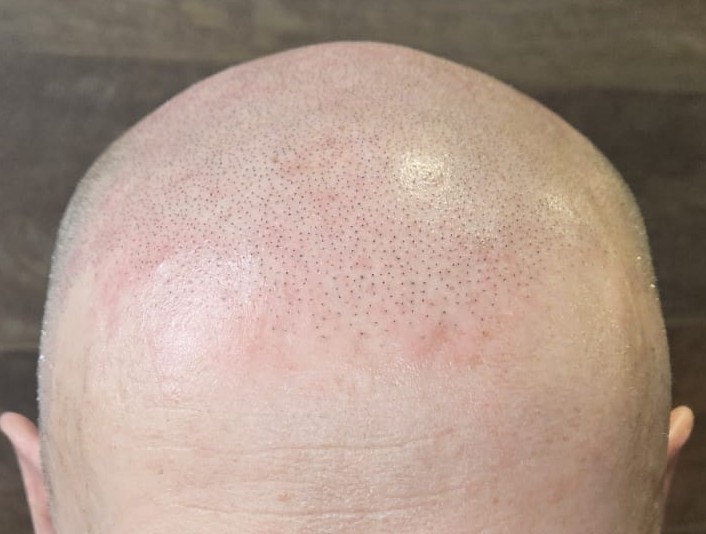
The second session focuses on enhancing the density to match the natural appearance of your hair. This is a transitional phase where the artist refines the hairline and works on blending the impressions with your existing hair. This step is critical, as it ensures the results begin to look seamless and natural while setting the stage for the final session.
3. The Final Session – The Blending Phase
The final session (usually the third or fourth, depending on the size of the area being treated) is where the magic happens. The artist completes the process by adding the final impressions, ensuring the SMP blends perfectly with your natural hair. By this stage, your treatment will look complete, giving you the desired appearance of a fuller scalp or a clean, shaved look.
Healing Between Sessions
Typically, 7 to 10 days are scheduled between sessions to allow your scalp to heal and for the artist to evaluate how well your skin has retained the pigment. This observation is essential to ensure each subsequent session builds on the previous one effectively.
Number of Sessions
The total number of sessions required depends on your specific case, such as the size of the area being treated and the desired density. However, you can generally expect a minimum of two sessions for noticeable results.
5 Responses
I’ve been looking for answers to this issue, and your write-up resolved it.
you can also come in for a consultation, so we can provide you with more help.
You are so cool! I don’t suppose I’ve truly read something like that
before. So great to discover somebody with genuine thoughts on this topic.
Seriously.. many thanks for starting this up. This web site is one
thing that is required on the internet, someone with
a little originality!
I blog often and I seriously thank you for your content.
This article has really peaked my interest. I am going to book mark your blog and keep checking for new information about
once a week. I opted in for your Feed too.
This article is a must-read for anyone wanting to enhance their knowledge in this domain.